Artwork Setup Guide
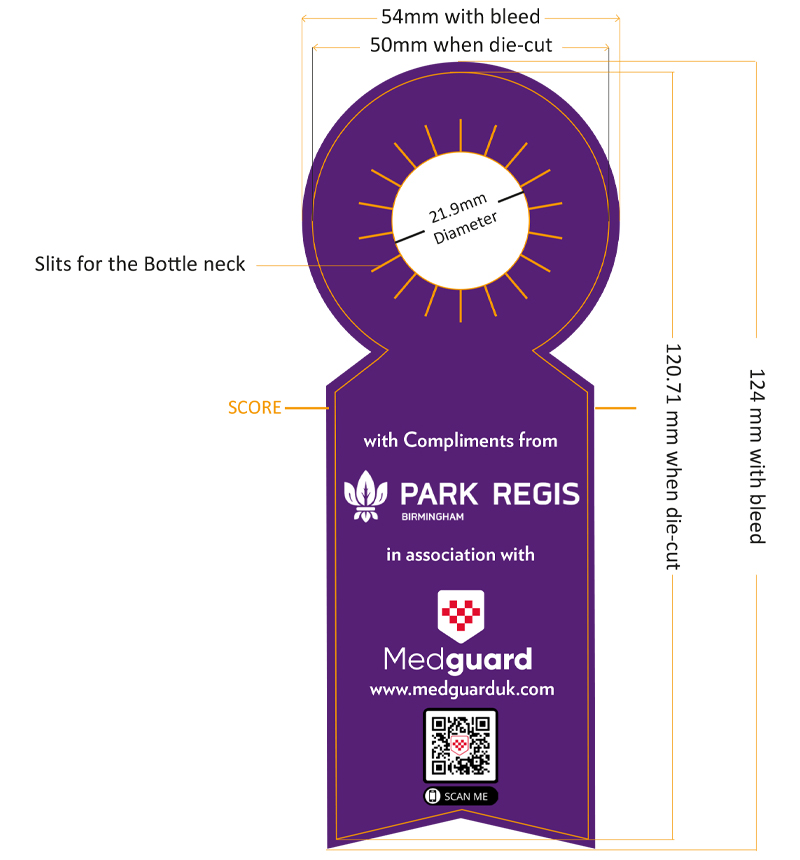
- If you’ve chosen one of our in-house hanger, tag or collar style options, we recommend downloading our free templates. These come with the cutter shape (displayed as a magenta line) and bleed area already set up.
- To ensure the most accurate colour reproduction, make sure your artwork is designed and saved in CMYK colour format (including any images you’ve imported into your design).
- The resolution of your artwork should be set to 300dpi; again including any images you’ve imported.
- All artwork should include a 3mm bleed area out from the edge of the cutter guide. It’s also wise to include a safe area 3mm in from the cutter guide, and to ensure no key elements of your design (such as text and icons) are placed outside the safe zone.
- When saving, make sure any fonts are either embedded or converted to outlines. This prevents your font choices going missing and being replaced with ugly default fonts.
- Be sure to include crop marks when saving your artwork.
- Artwork should ideally be saved as a high-resolution PDF. We can also work with Photoshop, InDesign and Illustrator project files, but PDFs are preferred. Please avoid saving your files as interactive PDFs, as these aren’t really suitable for printing.
- Don’t forget to review and proofread your artwork before saving!


How to set up your artwork for double-sided printing
- If you’re printing artwork on both sides of your collar, tag or hanger, we suggest saving each side as a different file. Don’t forget to flip your template over when designing the reverse side!
How to set up your artwork for custom shapes
- All custom shapes will need a cutter guide; this is a stroke outline in your artwork file which matches the shape and dimensions you’re looking to print. It’s best to set up your cutter guide in a magenta colour or similar.
- If you’ve chosen one of our in-house shape options, don’t worry about setting up a cutter guide – just download the corresponding template from our site and get stuck in with artwork creation.
How to set up your artwork for foiling, spot UV, scratch-off latex and/or embossing
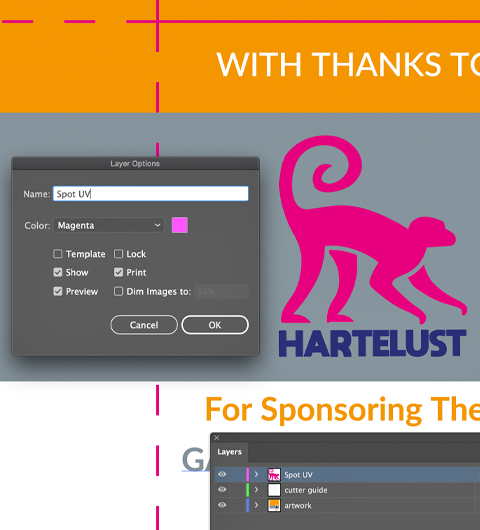
- Place any elements to be foiled, varnished or embossed/debossed on a separate layer in your design software. Give the layer an appropriate name that differentiates it from the rest of your artwork.
- For scratch-off latex, set up the size, shape and placement of the scratch-off panels on a separate layer to the rest of your artwork; again with an appropriate name.
- Any overprinting can either be added straight onto the scratch-off panels layer, or added onto another layer on top of the panels layer.
Need help with preparing your design?
Get in touch for expert advice and support today